
The biggest mistake a rookie will make is trying to coat both sides of the angle on the same coat (same day).
The problem here is that once you get one side pretty and you try to coat the other side, you mess up the 1st side.
The trick is 1st side one day, 2nd side next day.
I'll show you step by step how to do it.
This step you would do day after you tape your job.
To learn about how to hand tape go here How to hand tape drywall
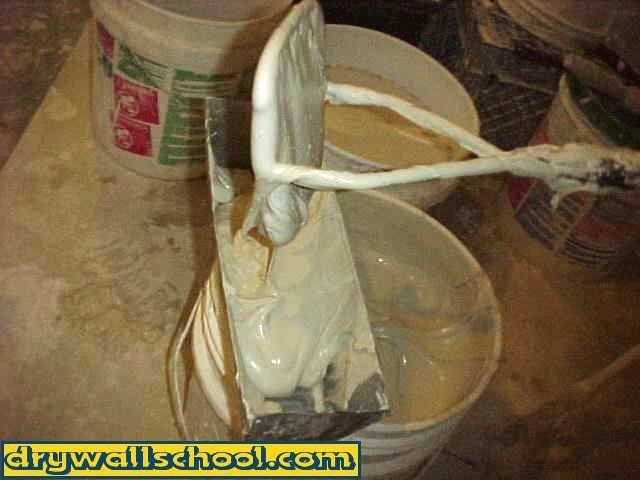
STEP 1: Mix Mud, Spread
Mix up your joint compound (With water) until it is thin enough to work with. This is important, mud right out of the bucket is way too thick for anything. For more on mud and how to mix go here
Using a drywall pan and a 6" knife, spread a nice even bed of mud on one side of the angle. Try to go from the ceiling down about half way.
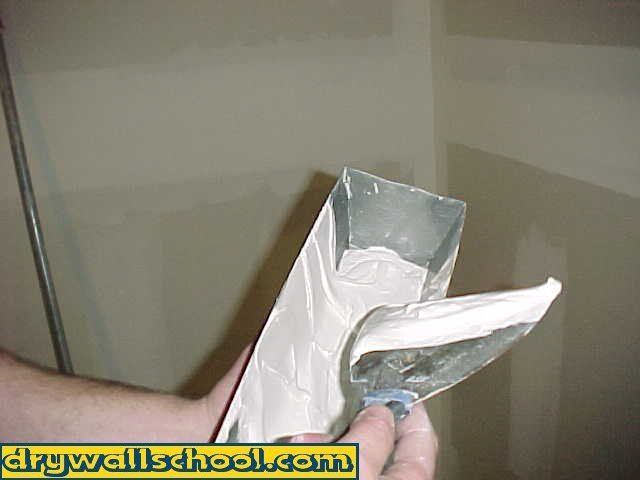


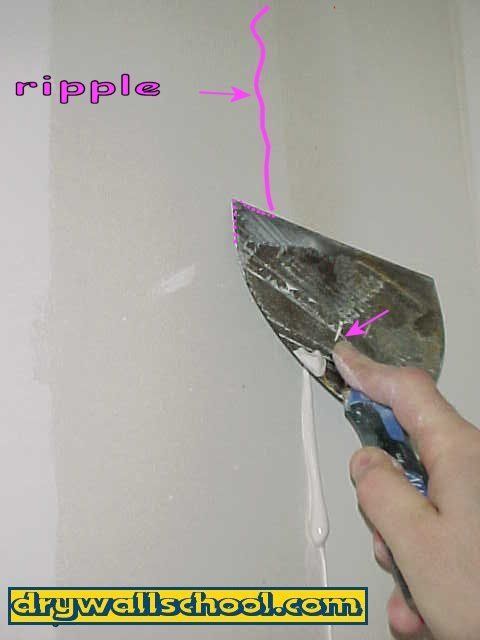
STEP 2: Feather In Outside edge
Place your pointer finger a little to the left of center. As you pull the knife down the corner, apply a lot of pressure on the outside edge (See Picture) See the ripple line , that's what you want. Once you have feathered in the outside edge,
Final Swipe
Put your finger back on the center of the knife and wipe down the angle again, this time using firm even pressure on the middle of the knife.
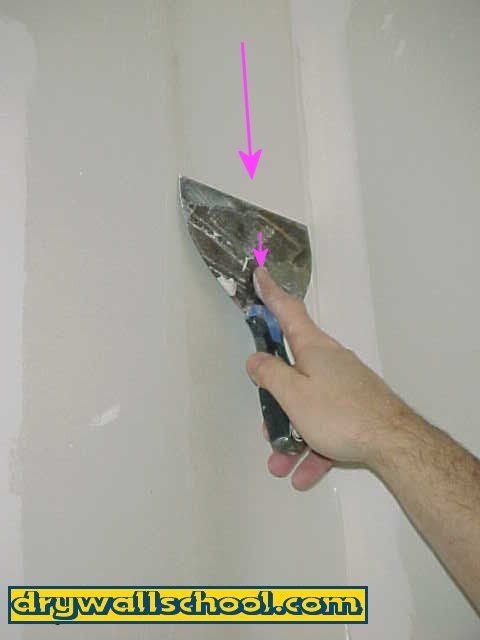
STEP 3: Clean Edge
See how you get a little edge of mud there (See Picture). Just pull it to the right.

STEP 4: Repeat The Same Procedure On The Bottom Half Of The Angle
Spread On Mud
Start about an inch from the floor and spread on a nice bed of mud all the way up until you meet the upper section you just coated
Feather In Outside edge
Same as above, Pointer finger applying pressure to the outside edge of the knife. Try to leave a nice ripple all the way up the Angle
Final Swipe
Put your finger back on the center of the knife and wipe up the angle again, this time using firm even pressure on the middle of the knife. When you reach the upper section (that we just coated) stop!! You should only leave one little lap mark where the 2 sections meet.
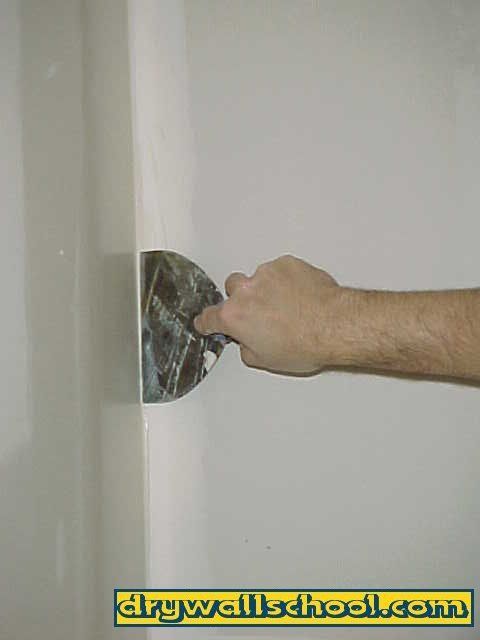
Clean Edge, that's it...
One side of your angle should be coated from the floor to the ceiling.
Let the angle dry over night, Give it a quick little sand job and coat the other side tomorrow (Using the same exact procedure).
This was just example of how to do it. You could be doing a ceiling angle just as easily. Just remember one side per day.
Here is a video showing how to coat both sides of the angle the same day by using a butterfly knife
For questions or ideas for future pro Drywall Tips, click here Mike@mikebelldrywall.com You can also find some good drywall tips in the "ASK THE PRO" section
Drywallschool.com grants you permission to view this Site and to print individual pages from this Site for your own personal, noncommercial use, provided that you agree to and accept without modification the notices, terms and conditions set forth in this agreement. You may not modify, copy (except as set forth in the preceding sentence), distribute, transmit, display, perform, reproduce, publish, license, create derivative works from, transfer or sell any information, material, software, products or services from this Site.
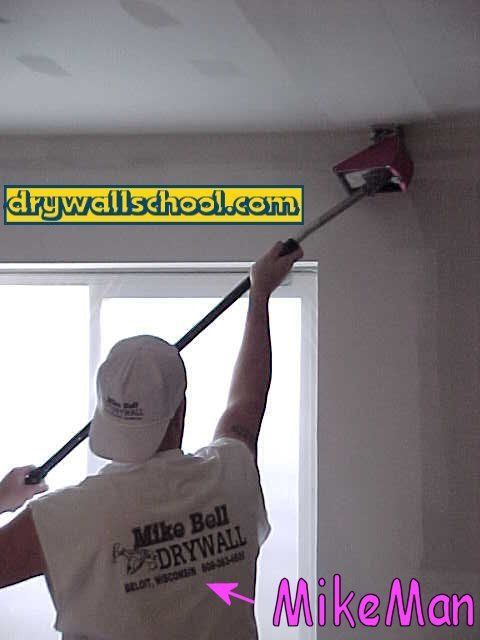
This is how the pro's do it.
This is called an angle box. It coats both sides of the angle SAME DAY