
HOW TO HAND TAPE DRYWALL
Professional Taping Techniques
Before you start taping, make sure all your corner bead is on.
STEP 1: Mix mud
Mix up some all purpose mud. To learn all about mud and how to mix go here All about Joint Compound
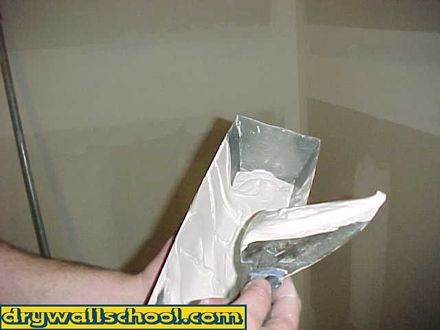
Thin your mud down with a little water. Mud straight out of the bucket is too thick for anything Any pro will tell you that you must thin it down. You want it smooth and easy to spread like pudding. If you're using a new bucket, You might have to remove a scoop of mud to make room for some water. Once you have some good mud mixed up and ready to go, get a little bit into your drywall pan
Here is a good video
Tape The Butts 1st, Recessed Joints 2nd. Detail Last
"Butt Joints" (Anyplace where 2 end pieces butt up to each other)
"Recessed Joints" (Anyplace where 2 recessed pieces meet)
"Detail" (Any little repairs around pipes, outlets, dings, holes
Why tape the butts 1st ?? This way, when you tape the recessed joints you will be covering up the ends of any butt joint tapes

STEP 2: Spread mud, apply tape, wipe tight
Using a drywall pan and a 6" knife, spread a nice even bed of mud on the joint. Make sure to go at least 4" - 6" wide. Any spots without mud will be a future problem.
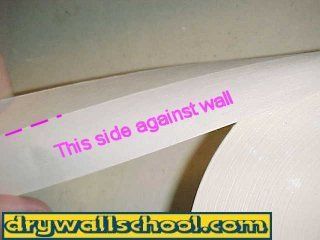
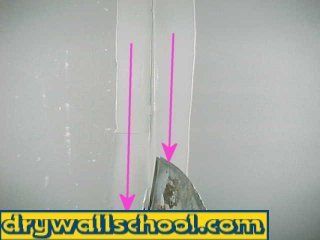
Apply your tape to the joint making sure to keep it centered. There is a small crease in the middle of the tape, make sure that the line of the crease goes down (Towards sheetrock). Once the tape is in place, take an 8" drywall knife and wipe off the excess mud. Start from about the middle, wipe one way to the end, then from the middle the other way to that end.
After you apply the tape and you start wiping, you must "insist" that the mud oozes out each side of the tape. If there is a spot that doesn't ooze. That's a future air bubble and a problem for you in. By pressing a little harder (with your knife) you should be able to get the mud to ooze out the sides. If you can't get it to ooze, there is not enough mud under that spot, peel it back, put more mud there, try again.
Now you won't have any air bubbles and you won't have any problems..
That's how to hand tape your "Flats" (Butts & Recessed Joints)
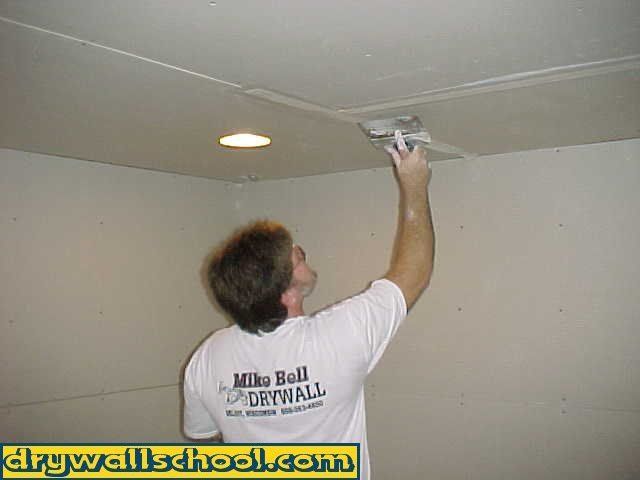
STEP 3: Tape The Angles
"Angles" (All your inside corners)
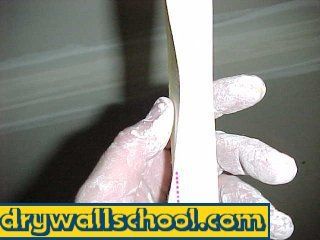
Once all the butts and recessed joints are taped, it's time to move to the angles. Using your 6" knife apply a generous bed of mud to each side of the angle. Just like before, any spots without enough mud will be potential air bubbles. Run your finger and thumb along the tape and crease it down the middle. Fold it in half.
Now stick the tape into the angle . Use your finger and make sure it's set into the angle pretty good.
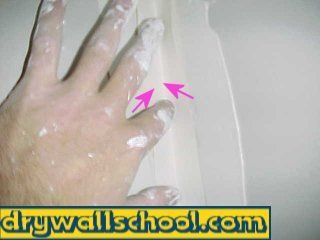
Use your 6" knife to wipe, pull down one side, then the other. For a nice square corner you need to pull it tight and get all the excess mud out. Just like before, make sure you get the mud to ooze out both sides.
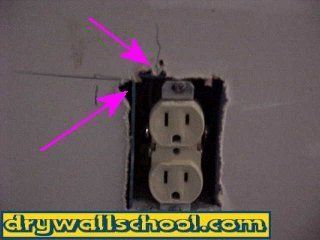
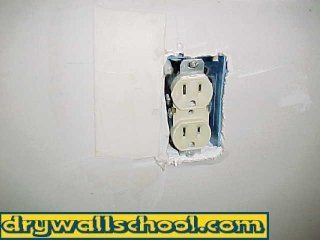
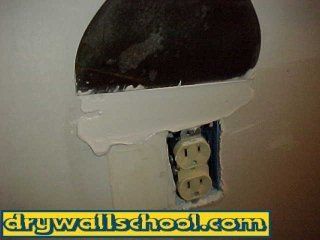
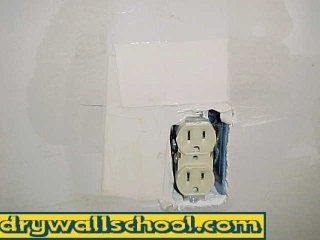
LAST STEP : Tape Detail
"Detail" (Any little repairs around pipes, outlets, dings, holes)
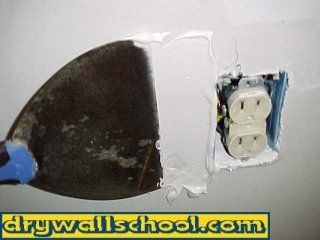
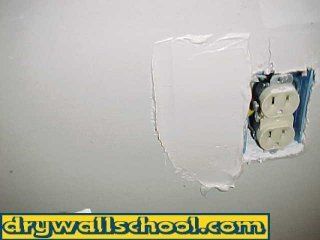
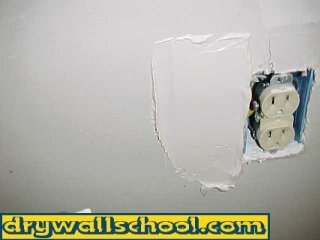
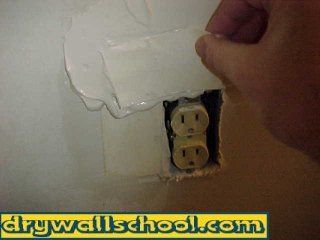
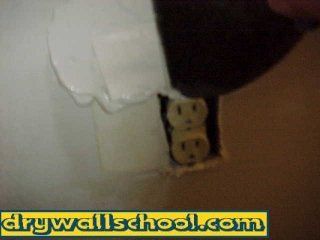
Apply a little mud on the bad area (The power to this outlet is turned off). Put on a piece of tape. Use your finger on one hand to hold the tape in place. Now wipe with the other hand. I couldn't because I was holding the camera with one hand. That's pretty much it for detail, pretty simple.