
If you want to learn how to 1st coat recessed joints go here How to 1st coat recessed joints
1st just a little info about how this coating stuff works: The reason the joints (Recessed Joints & Butt Joints) need 2 coats is because after the 1st coat dries the mud shrinks back. If you were to put the straight edge of your knife tight against the wall, you would see there is still a little gap (see picture below).
The goal here is to get the joint nice and flat, Here we go with the 2nd coat.

Step 1: Sand
Using a sanding pole and some 80 to 120 grit sand paper lightly go through your project and sand any edges and lap marks. You shouldn't have to sand too much here. All you want to do is knock off any edges from the 1st coat so there won't be any problems with the 2nd coat.
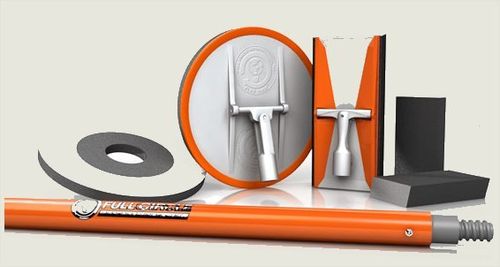
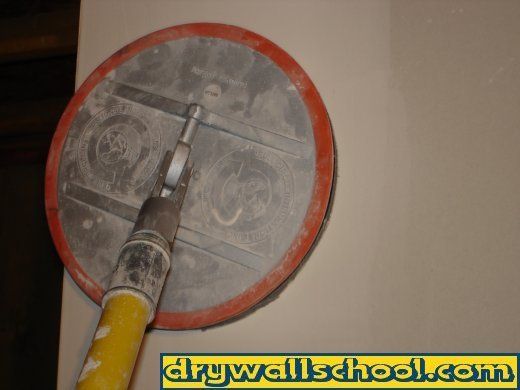
I like the new round sander made by (Full Circle International)
Not only does it remove more material faster, It really makes your joints flat.
A regular square sander might make a butt joint smooth but it will leave it humped.
A medium sanding sponge works great for your angles, corners and detail work.

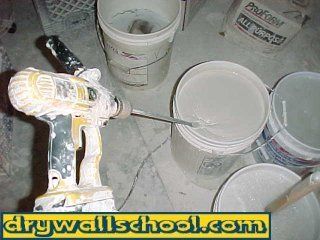
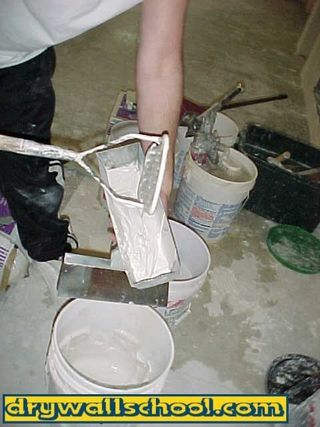
Step 2: Mix Mud
Mix up your mud. To learn all about mud and how to mix go here All about Joint Compound
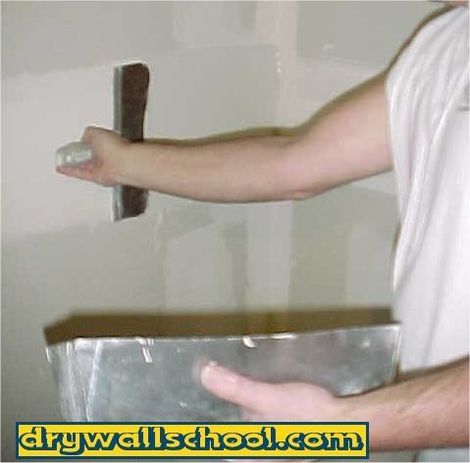
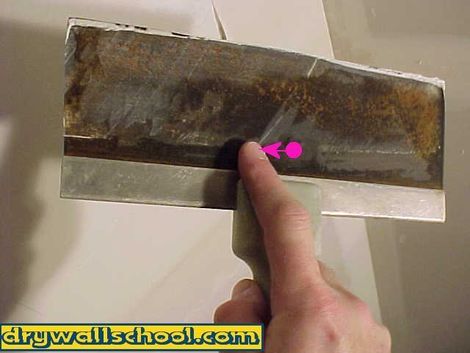
Thin your mud down with a little water. Mud straight out of the bucket is too thick for anything. Any pro will tell you that you must thin it down. You want it smooth and spreadable like pudding. You might have to remove a scoop of mud to make room for some water. Once you have some good mud mixed up and ready to go, get a little bit into your drywall pan. For the 2nd coat you will need a 12 inch knife. Always keep your pointer finger in the center of the knife, this will give you more control. Always try to keep the finger side of the knife as dry and clean as possible. Most knives have a logo or something on the handle on one side. I always make the logo side my finger side. Decide what side you want your finger side to be and stick to it. If you're flipping the knife all the time it will get all wet, dirty and sloppy and gross. You want your pointer finger to stay dry.

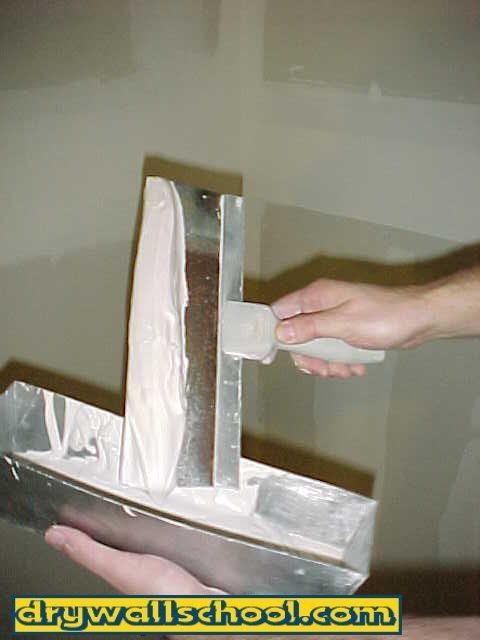
Step 3: Spread mud
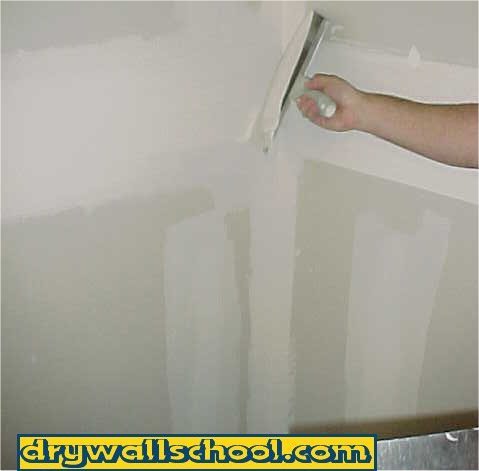
Using a drywall pan full of mud and your 12 inch knife, spread a nice even bed of mud down the recessed joint. Start in the corner and come down the wall about 4 to 6 feet. As you get better at this, you will be able to bite off bigger sections but for now, just go with nice small easy to manage sized sections.
Just apply nice even pressure on the center of the knife (Notice finger location).
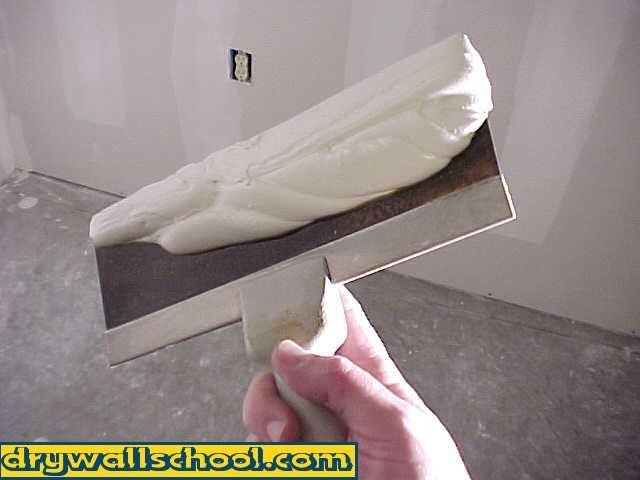
STEP 4: Feather in the outside edges
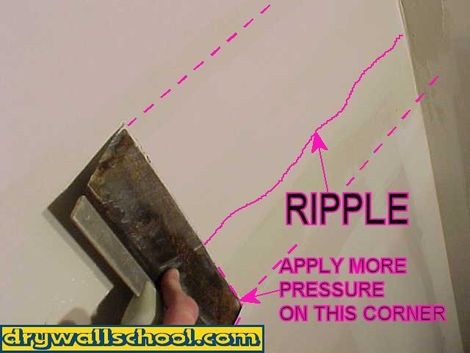
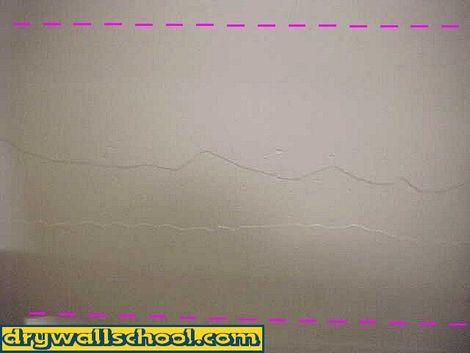
Move your finger a little to the right side of center. This will give you a little more control on the right side of the knife. Start back in the corner and pull the knife back towards you applying most of the pressure on the outside edge. What you're doing here is feathering the outside edge in. You should end up with a small ripple line (See picture).
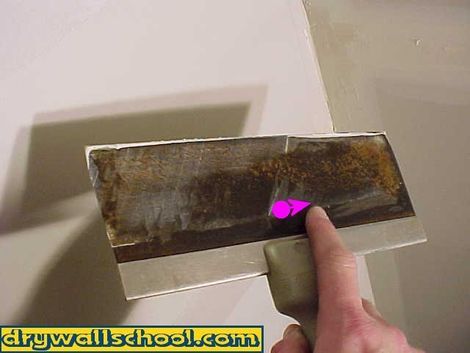
Once you feathered in the bottom edge, move your finger a little left of center. Pull the knife across the joint again, this time feathering in the top edge. Try to get a ripple line on the top side like you did on the bottom.

It's hard to get these little ripple lines to show up on a picture but if you look real close at the picture below you can see the top and bottom ripples.
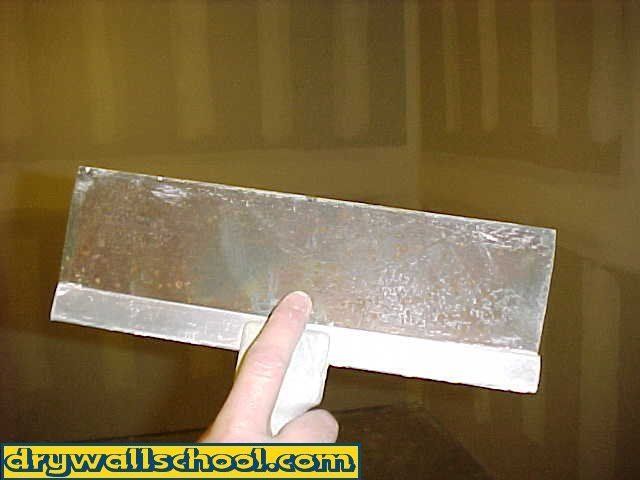
STEP 5: Pull the middle
Place your finger right in the middle of the knife. Pull across the joint one more time, this time using firm even pressure on the middle of the knife. With a little practice you will be able to coat the recessed joints nice and smooth and they will require very little sanding. That should be it for your 1st little section.

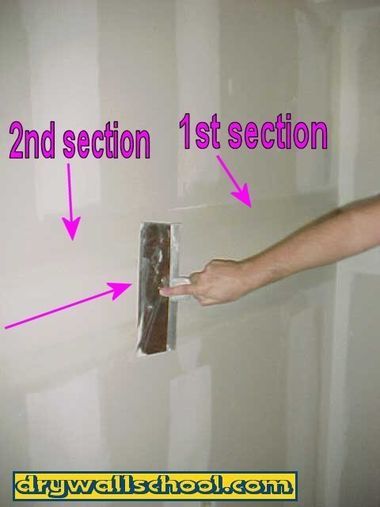
Move on to next section
Start at the end of the section you just finished. For the next section you are going to repeat all the steps from above. The only thing you are going to do different is: On your final swipe with your knife, you are going to pull from the opposite direction.


When your knife meets the first section you will end up with a small "Lap mark" or "Fish Tail". That's okay, that's what you want.

How about a free video??
This one shows how to coat ceiling joints
Next Step: How To 2nd Coat Butt Joints